

Do you have an abundance of pretty things and no where to put them? Well I sure did. I've seen some cool DIYs for stands with plates, and I thought I would incorporate something I did with fabric and clear glass plates one time for a jewelry stand.

Supplies needed:
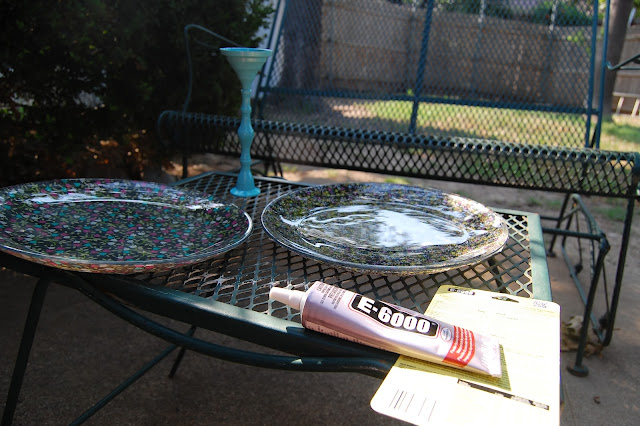
Two clear glass plates. I've gotten these at Walmart and a dollar store before.
One candle stick holder, or something similar...I got mine at a thrift store.
Two fat quarters of fabric
Scissors
Mod Podge glue and sponge brush
Spray paint
E 6000 glue
Fabric marker
Other supplies:
newspaper, windex and paper towel
Iron your fabric and clean your plates with windex if needed.

Apply your first coat of spray paint to your stand holder if you desire.


(use the funnies for a little entertainment!)
Now apply the glue to the back side of your first plate, working fairly quickly - start in the center...


Now quickly but carefully, attach the fabric to your plate. Make sure you lay the fabric print side down!
Using both hands, hover your fabric above the plate and center it, lay it down in the middle first.

Starting in the middle and using your hand, smooth the fabric down to the plate. Do this all the way around the plate.

Find any wrinkles and smooth them out.

 If you are having trouble with your fabric bubbling, just keep smoothing it down toward the edge and it should eventually all lay flat.
Turn over and press the edge of the fabric against the plate.

 Add glue to the rim where needed.
Do this for both plates.
The glue will turn clear as it dries.

It may be easier to wait for the glue to dry before the next step, I however was feeling impatient, and I was sure to use some scissors that I use for glue/paper crafts. This also may be a good time to go spray another coat of paint on your candlestick holder.
Trim the excess fabric closely against the rim of the plate.

Set plates upside down and allow to dry.

The next step is attaching the plates to the candle stick holder.


While your paint is drying, let's put our plates together!
Lay your plate face down on your fabric, and trace with a fabric marker.

Cut your fabric about half an inch from the line you marked.
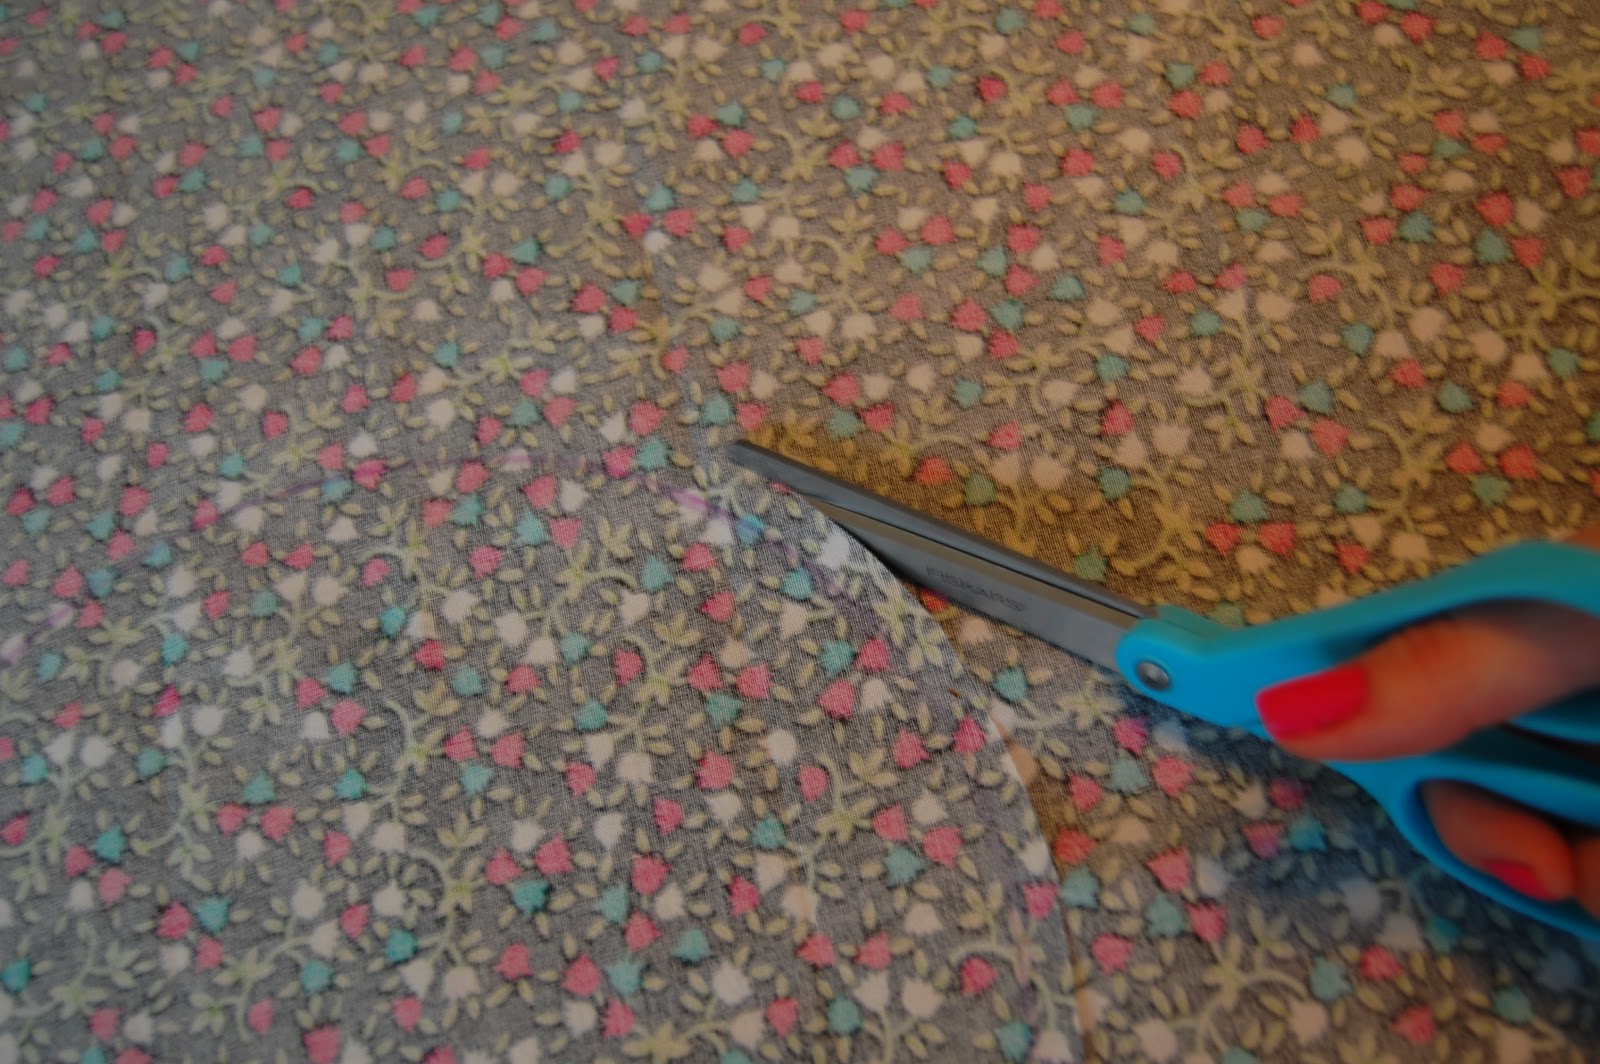
(my marker was already starting to disappear, hopefully if you squint you can see a bit of it!)
Do this with your fabric for both plates and prepare to glue by putting some newspaper or something down to protect your surface.

Now apply the glue to the back side of your first plate, working fairly quickly - start in the center...

Smooth the glue around the edge, and move the brush in a circular motion in the middle to ensure the glue won't streak too much when dry.

Now quickly but carefully, attach the fabric to your plate. Make sure you lay the fabric print side down!
Using both hands, hover your fabric above the plate and center it, lay it down in the middle first.

Starting in the middle and using your hand, smooth the fabric down to the plate. Do this all the way around the plate.

Find any wrinkles and smooth them out.


Turn over and press the edge of the fabric against the plate.


Do this for both plates.
The glue will turn clear as it dries.

It may be easier to wait for the glue to dry before the next step, I however was feeling impatient, and I was sure to use some scissors that I use for glue/paper crafts. This also may be a good time to go spray another coat of paint on your candlestick holder.
Trim the excess fabric closely against the rim of the plate.

Set plates upside down and allow to dry.

The next step is attaching the plates to the candle stick holder.

Read the glue directions.
You may want to measure and mark the middle of your plate, I did not do this and mine ended up a little offset.

Apply glue to the rim carefully, center and press down to the plate you will use for the base.

Now apply glue to the rim for the top plate.

Once again, marking the center of your plate would be very helpful.

With a view from below, hold your plate above so you can see that it's centered and carefully lay it down and press.
Now allow to dry over night!

When dry and checked for sturdiness, you can put all your pretty things on your new stand!


I've cluttered up my darling earring holder that was my mom's. Isn't it cute?

I'm loving my collection of vintage brooches from mine and my fiancee's grandmothers.

I love having a pretty place to put all my pretty things! I'm considering adding another tier to it with a bowl on top. Give this DIY a try, do you have an overflowing collection that deserves a pretty stand? Let's see!
xomando
Absolutely wonderful :)
ReplyDeleteI simply ADORE your clever tutorial style, as well as the creative project! Spray painting the candle stick is an excellent touch! muahhhhh!
ReplyDelete